e
Expanding Further
This part focuses on building a simple, effective, and robust CI system that helps developers to work together, maintain code quality, and deploy safely. What more could one possibly want? In the real world, there are more fingers in the pie than just developers and users. Even if that weren't true, even for developers, there's a lot more value to be gained from CI systems than just the things above.
Visibility and Understanding
In all but the smallest companies, decisions on what to develop are not made exclusively by developers. The term 'stakeholder' is often used to refer to people, both inside and outside the development team, who may have some interest in keeping an eye on the progress of the development. To this end, there are often integrations between Git and whatever project management/bug tracking software the team is using.
A common use of this is to have some reference to the tracking system in Git pull requests or commits. This way, for example, when you're working on issue number 123, you might name your pull request BUG-123: Fix user copy issue and the bug tracking system would notice the first part of the PR name and automatically move the issue to Done when the PR is merged.
Notifications
When the CI process finishes quickly, it can be convenient to just watch it execute and wait for the result. As projects become more complex, so too does the process of building and testing the code. This can quickly lead to a situation where it takes long enough to generate the build result that a developer may want to begin working on another task. This in turn leads to a forgotten build.
This is especially problematic if we're talking about merging PRs that may affect another developer's work, either causing problems or delays for them. This can also lead to a situation where you think you've deployed something but haven't actually finished a deployment, this can lead to miscommunication with teammates and customers (e.g. "Go ahead and try that again, the bug should be fixed").
There are several solutions to this problem ranging from simple notifications to more complicated processes that simply merge passing code if certain conditions are met. We're going to discuss notifications as a simple solution since it's the one that interferes with the team workflow the least.
By default, GitHub Actions sends an email on a build failure. This can be changed to send notifications regardless of build status and can also be configured to alert you on the GitHub web interface. Great. But what if we want more. What if for whatever reason this doesn't work for our use case.
There are integrations for example to various messaging applications such as Slack or Discord, to send notifications. These integrations still decide what to send and when to send it based on logic from GitHub.
Exercise 11.18
We have set up a channel fullstack_webhook to the course Discord group at https://study.cs.helsinki.fi/discord/join/fullstack for testing a messaging integration.
Register now to Discord if you have not already done that. You will also need a Discord webhook in this exercise. You find the webhook in the pinned message of the channel fullstack_webhook. Please do not commit the webhook to GitHub!
11.18 Build success/failure notification action
You can find quite a few third-party actions from GitHub Action Marketplace by using the search phrase discord. Pick one for this exercise. My choice was discord-webhook-notify since it has quite a few stars and decent documentation.
Setup the action so that it gives two types of notifications:
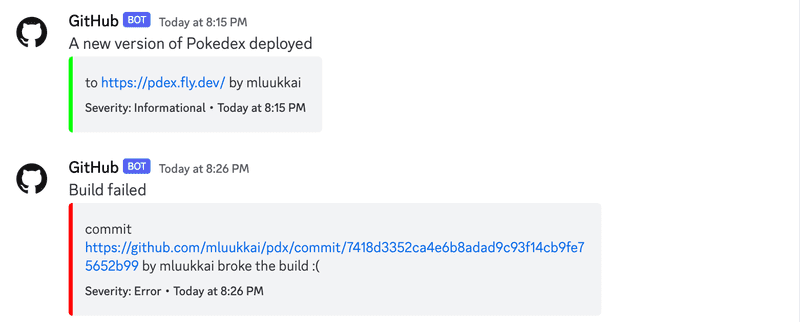
- A success indication if a new version gets deployed
- An error indication if a build fails
In the case of an error, the notification should be a bit more verbose to help developers find quickly which is the commit that caused it.
See here how to check the job status!
Your notifications may look like the following:
Metrics
In the previous section, we mentioned that as projects get more complicated, so too, do their builds, and the duration of the builds increases. That's obviously not ideal: The longer the feedback loop, the slower the development.
While there are things that can be done about this increase in build times, it's useful to have a better view of the overall picture. It's useful to know how long a build took a few months ago versus how long it takes now. Was the progression linear or did it suddenly jump? Knowing what caused the increase in build time can be very useful in helping to solve it. If the build time increased linearly from 5 minutes to 10 minutes over the last year, maybe we can expect it to take another few months to get to 15 minutes and we have an idea of how much value there is in spending time speeding up the CI process.
Metrics can either be self-reported (also called 'push' metrics, where each build reports how long it took) or the data can be fetched from the API afterward (sometimes called 'pull' metrics). The risk with self-reporting is that the self-reporting itself takes time and may have a significant impact on "total time taken for all builds".
This data can be sent to a time-series database or to an archive of another type. There are plenty of cloud services where you can easily aggregate the metrics, one good option is Datadog.
Periodic tasks
There are often periodic tasks that need to be done in a software development team. Some of these can be automated with commonly available tools and some you will need to automate yourself.
The former category includes things like checking packages for security vulnerabilities. Several tools can already do this for you. Some of these tools would even be free for certain types (e.g. open source) projects. GitHub provides one such tool, Dependabot.
Words of advice to consider: If your budget allows it, it's almost always better to use a tool that already does the job than to roll your own solution. If security isn't the industry you're aiming for, for example, use Dependabot to check for security vulnerabilities instead of making your own tool.
What about the tasks that don't have a tool? You can automate these yourself with GitHub Actions too. GitHub Actions provides a scheduled trigger that can be used to execute a task at a particular time.
Submitting exercises and getting the credits
Exercises of this part are submitted via the submissions system just like in the previous parts, but unlike parts 0 to 7, the submission goes to different "course instance". Remember that you have to finish all the exercises to pass this part!
Your solutions are in two repositories (pokedex and your own project), and since you can return only one repository to the submission system, put a link of the other repository to the one you fill into the submission form!
Once you have completed the exercises and want to get the credits, let us know through the exercise submission system that you have completed the course:
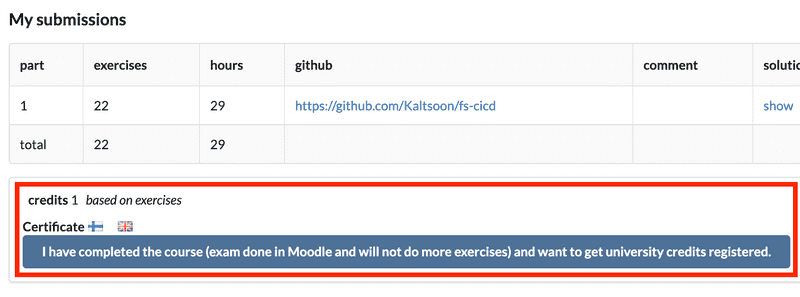
Note that you need a registration to the corresponding course part for getting the credits registered, see here for more information.
You can download the certificate for completing this part by clicking one of the flag icons. The flag icon corresponds to the certificate's language.